The Problem
The question comes up every so often: How can you make a nice smooth, topologically good mesh starting with a self-intersecting shape?
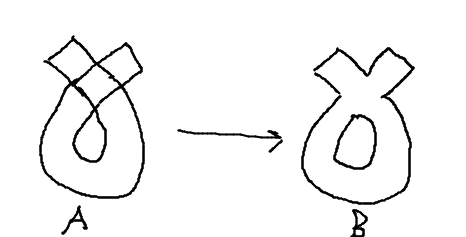
I have been motivated to write a how-to, after seeing this question from Kevin Tee on Blender Artists. Here is his sketch showing the essence of the problem:
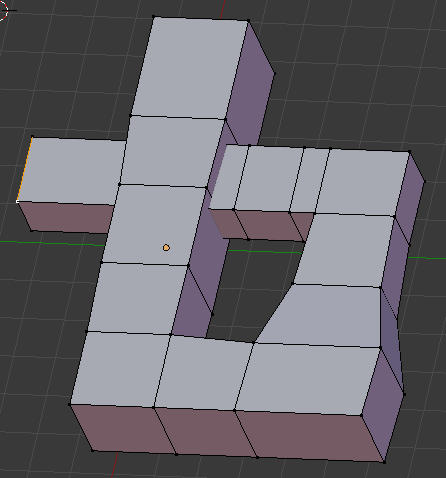
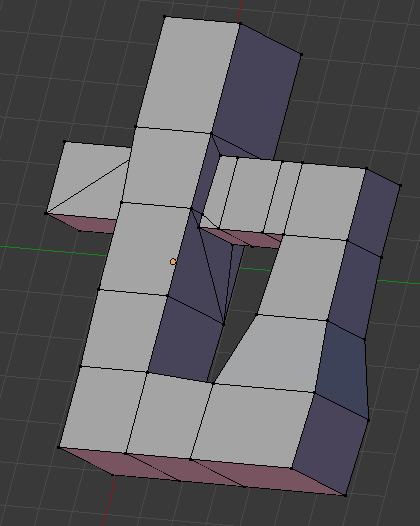
For this short tutorial, we'll start with this mesh, made from a simple cube extruded several times, going around in a loop, and scaling it down:
Supposing this to be some part of some greater model, and we want it made rounded, organic, smoothly surfaced, we apply a subsurface modifier, expecting all the corners to melt down smooth and inner corners nicely filleted, like this
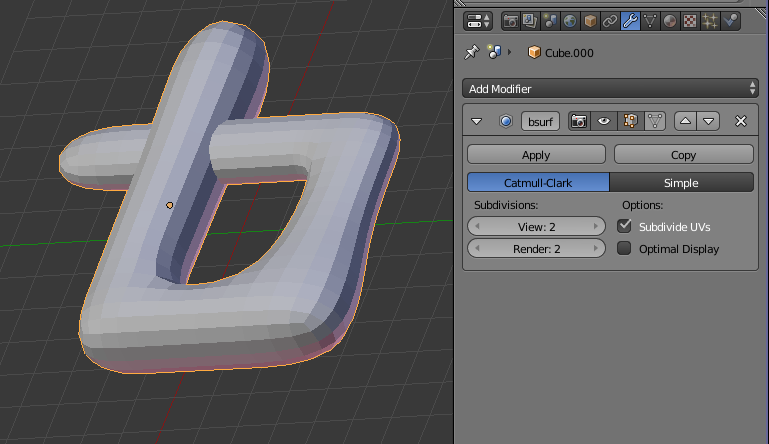
but whoa! *NOT* like *that*! This is not what we want. We'd like the self-crossing part to smoothly blend together, as if clay molded by hand. Not hard-edged straight pieces passing through as shown, the mesh oblivious to itself. This object does not have a clear inside space and a clear outside space, but has insideness inside its insideness!
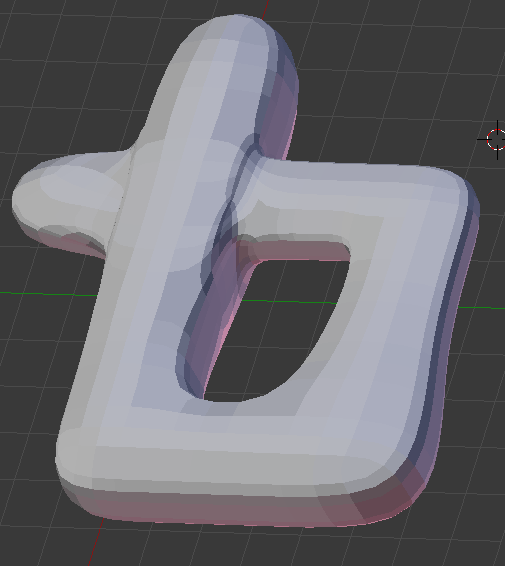
What we were hoping for is something like this:
The Technique
So, here's what to do. If the intersecting parts were two different objects, we could use the Boolean modifier, set to Union mode, and then the two meshes would be joined. We actually have one object. Let's break it into two pieces. Start be selecting the four vertices at one end of the mesh. I used ctrl-plus to expand the selection, then manually picked a few final vertices. You may have another way of selecting. What matters is that where the mesh intersects itself, one part is all selected and the other part is not.

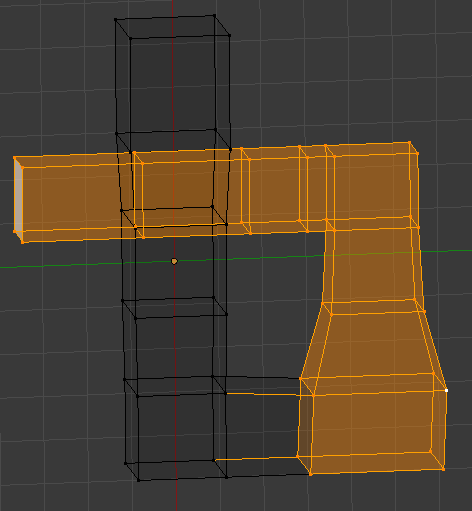
(Note my machine has a bug where the edge between a selected vertex and an unselected one, is either all highlighted or all unhighlighted, instead of the normal gradient. Just ignore that strangeness for now.)
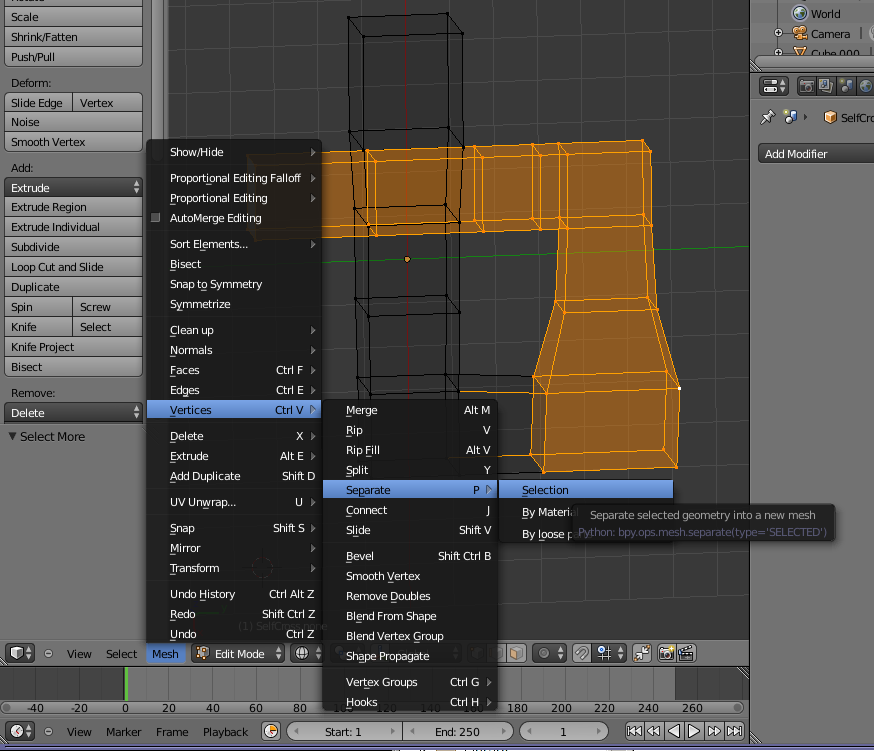
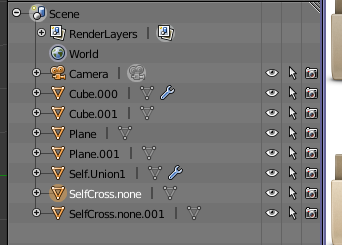
Now use the menu in the 3D view to choose Mesh -> Vertices -> Separate -> Selected (in edit mode) to break the selected mesh off, making it a separate object. In these screen capture shots you see "SelfCross" and "SelfCross.001". (Ignore the "none", that's from some earlier hacking around.)
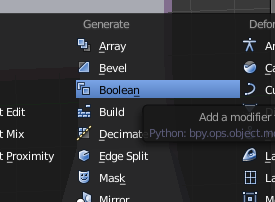
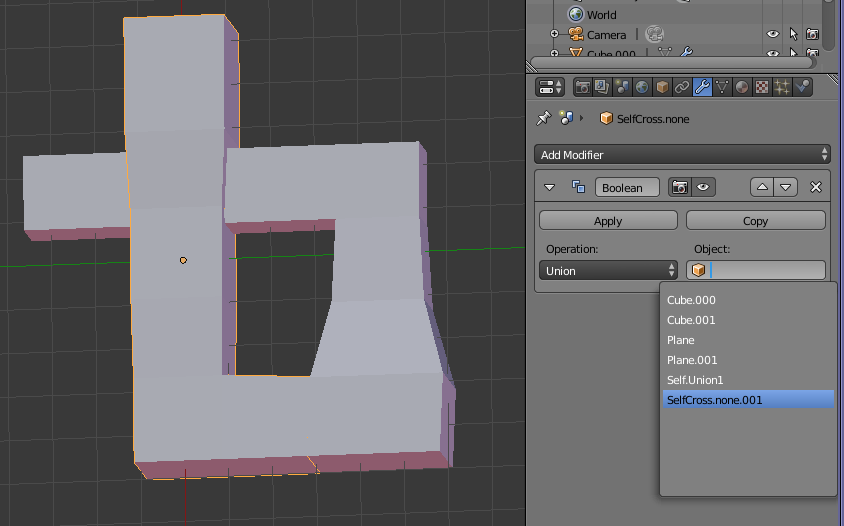
Now we do the Union. Picking either one of the pieces of the original object, add a Boolean modifier and set it for the "Union" operation. In the drop down list, pick the piece of the original object.
Switch to Object mode and Apply the modifier. We get this result:
Note the joined-together vertices. I shoulda tapped 'Z' and caught a screenshot of the transparent mesh, but I forgot. Oh well. There is a well-defined inside, a well-defined outside, and no weird places where the mesh is inside itself.
Okay, so now let's apply the subsurface modifier to get our nice smooth organic shape.
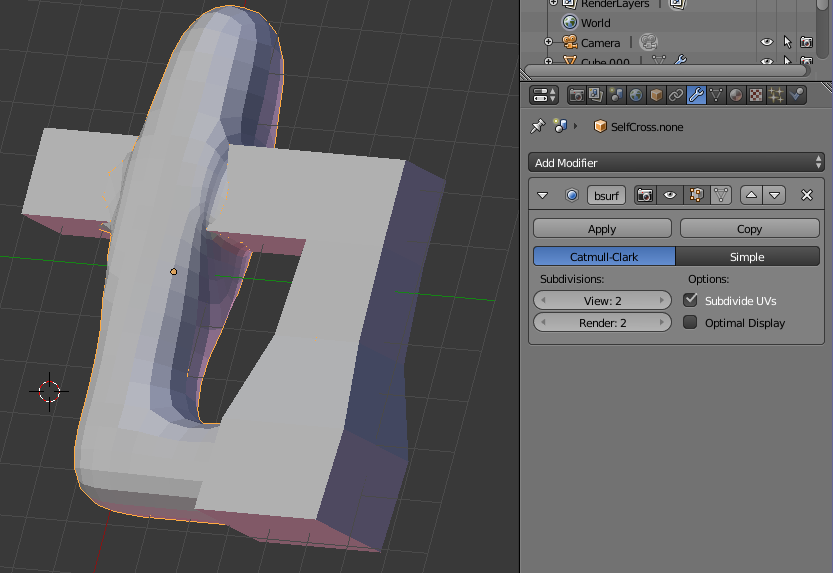
Whoa, whadafuq?! O.o? What's with the hard edges and flat boxy look? Well, back when we did the Union operation, it was a copy of the chosen object that was merged by the Boolean modifier. The original remains, unaffected. Just select it and 'X' it out of existence. (Or move it to another layer for future use, or give it to the cat to play with, whatever.)
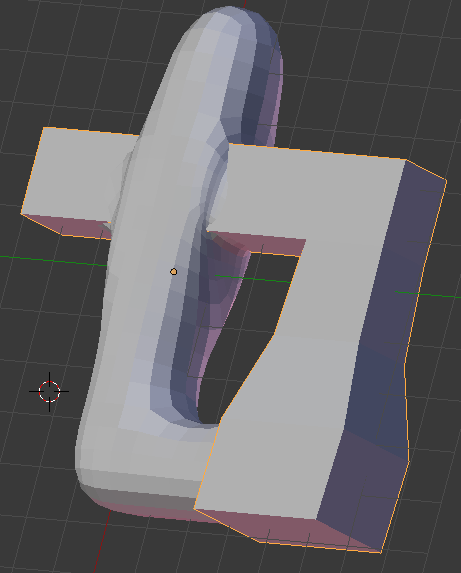
This then leaves us with the desired result
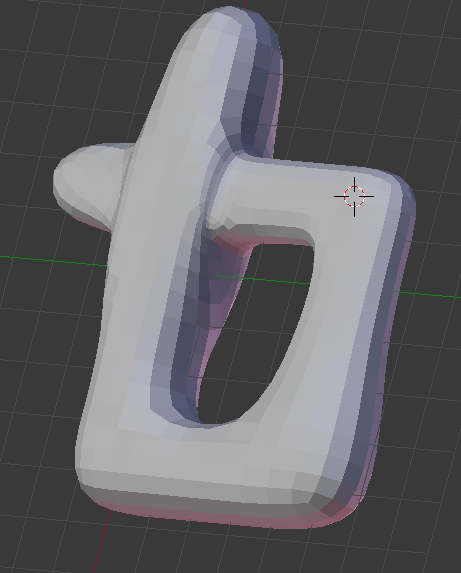
Congratulations, you are now an official licensed Master Expert at Blender!
Notes
This quick tutorial was announced on Blender Artists in the Tutorials, Tricks & Tips forum. Comments should go there. boo
Written by Daren Scot Wilson, 2014-May-27.