Moon with Halo
Surfing the web for something completely unrelated, I came upon the blog
BigJimmy's Brain, wherein i found a
photo of the Moon. Not one of the usual familiar moons (for those of
us working on the Cassini-Huygens mission) but the Earth's moon! Hey, i don't look
at that old thing too often. Strange, hard to recognize.
Anyway, it wasn't the best exposed photograph, and being a professional image enhancer,
i thought i'd have a go at bringing out the details, if there indeed were any in there.
Here is the original photograph, taken at f/2.8
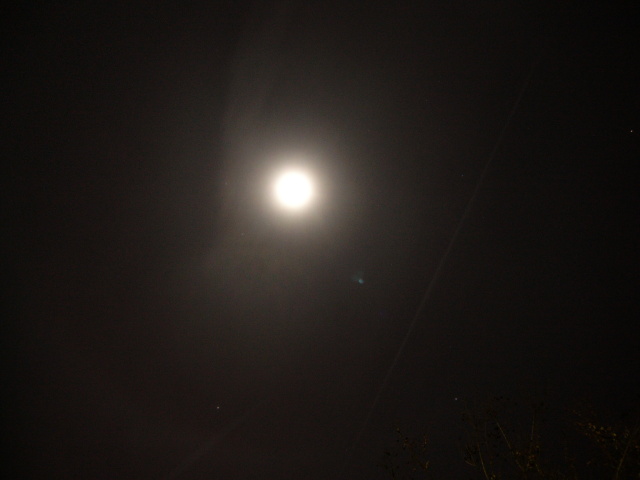
8sec exposure, f/2.8, ISO 100
photo by Jim Kane
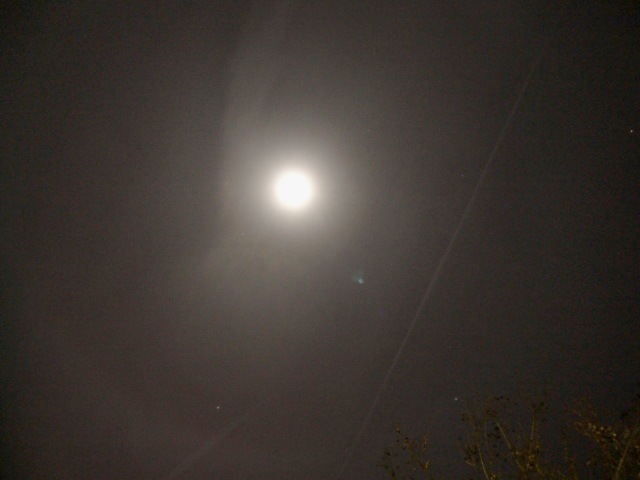
Here is my "improved" version:
Pushing it a little bit more...
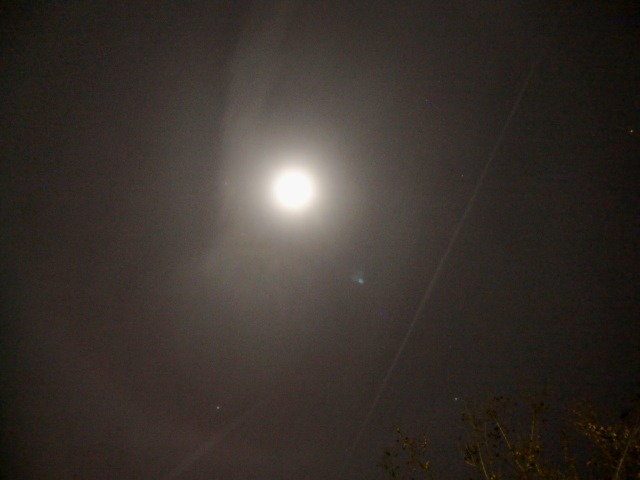
The small bright dot with a sort-of fan shape on it is probably Jupiter or one of the brighter stars.
When i get around to it, and assuming BigJimmy's camera's clock is at least loosely accurate, that spot
could be identified. The processing i did was something like this:
- load it into GIMP
- made two duplicates of the original layer
- In one duplicate layer, played with color tools/curve to bring out the interesting stuff in the dark. Deliberately overdid it.
- In the other duplicate layer, applied a simple gamma brightening, not too much, an unsharp filter with
a radius of around 40px, and then another gamma adjusment.
- Make the two duplicate layers partially transparent. The original is still at the bottom of the stack. Play with
transparency % until it "looks good". What looks good on my Samsung LCD may look blah on my good CRT at work.
- Flatten and save as a .jpg
I like the way the moon looks bright, almost hurts my eyes though
it is merely white (hex #FFFFFF) on my screen just like all the text editor window backgrounds and doodads
appearing on my screen, no brighter or dimmer just #FFFFFF, but don't seem that bright. The way
the brightest white falls off radially somehow cues the visual system to think "bright". Though there
is a lot of research on how Human (and other) visual systems work, i don't recall much particularly on the
sensation of brightness.
Photographing Moon and Clouds
Is hard - the light coming from the halos or clouds illuminated by a full moon, is but a small
fraction of the light coming directly from the moon. A common digital camera that creates 8-bit/channel JPEGs
isn't going to cover the dynamic range. To see the halo requires overexposure of the moon. But the general
stray light from a full moon tends to wash out everything - though we can see halos just fine with our eyes. Cameras
normally can't handle it. Maybe if the clouds are thick enough the moon will be dimmer, and the halo or other
nifty optical phenomena will be brighter. What can you do to take the best photo possible?
- use smaller aperture. a wide open aperture lets more moonlight and stray light enter the lens and bounce
around inside like it's a pinball machine.
A smaller aperture would probably reduce the stray light, more than just in proportion to the reduced direct light that you want.
Smaller apertures also make focusing easier. Maybe you can craters.
- Lower ISO settings are good for reducing noise (graininess) in the darker areas, which makes
enhancing the image for faint features, more pleasant.
- Shutter speed should be adjusted to whatever gives a good exposure. If it works out to less than
about 1/80th second, use a tripod or hold the camera against a solid surface.
- A neutral density filter or any other filters, if you think you want to use one,
are probably a bad idea - you'll get ghostly double images. This'll happen for any small bright
light source near the optical axis.
Like when you look at a streetlamp through a double-glazed window in a house. If you are entering
a photography competition called "Reflection in Windows", go for it, but otherwise you want to avoid this.
Many of the blurry and dubious UFO photos people have taken from indoors are really of reflections of lights or brightly lit objects that
the photographer wasn't aware of. (So now you have an idea on how to hoax UFO photos...)
The best way to make a pretty image of the moon, without it being washed out, where the craters are visible,
and also capture a halo without
it getting grainy or posterized-looking, is to take two photos.
- Shoot one photo, exposing for the moon to look good.
Automatic settings can't be trusted; your camera is likely to try to make the whole scene
to average out to what it thinks is a good exposure, and overexpose the moon. IF your camera displays
an "EV" reading, for example "-2.0EV", then you want to set the shutter speed maybe for -1.0EV
rather than the "ideal" of 0EV. YMMV, cameras all differ.
- Take another photo that overexposes the moon. Try for 0EV. It is better to do this by adjusting
the shutter speed, not the aperture.
- Depending on what software or hocus-pocus you intend to use, you may want a third photo overexposed
even more. 1EV would be good, following this example. Of course the moon will be a flat white round blob,
but we hope to catch the halo better.
These images of the same scene with different exposure can be combined to made
a final image that shows the best of each. You can buy software to do this. Links are below.
Details of how to do this by hand in Photoshop/GIMP/other is beyond the scope of what i care to
write about today, but you do want to use one or more of: histogram equalizations, gamma adjustments,
and masks to blend the images.
Further Reading
Tutorial on blending different
exposures in GIMP
another tutorial
from Digital Secrets
Commercial software named Photogenics HDR by
Idruna Software Inc, runs on Windows and Linux, is a good tool for
working on 32-bit-floating point images, allowing extremely wide dynamic ranges. Combining different shutter speeds
to make pretty fully-good-looking images from extremely contrasty reality,
is the least of its capabilities.
Cinepaint is a freeware app based on a GIMP version
of yore, somewhat buggy, but used by some film studios, astronomers and mad scientists.
I claim to be adding VICAR-reading capability to it, but that darn ol' Cassini mission
keeps me (all of us at CICLOPS) busy, busy busy...